Did you know there are ND filters for iPhones?
I know it but I don't know how to use it
What will change if I add an ND filter?
What is an ND filter anyway?
I'm sure many of you have questions and thoughts like these.
This time, I would like to focus on these questions and explain what actually changes when you use an ND filter.
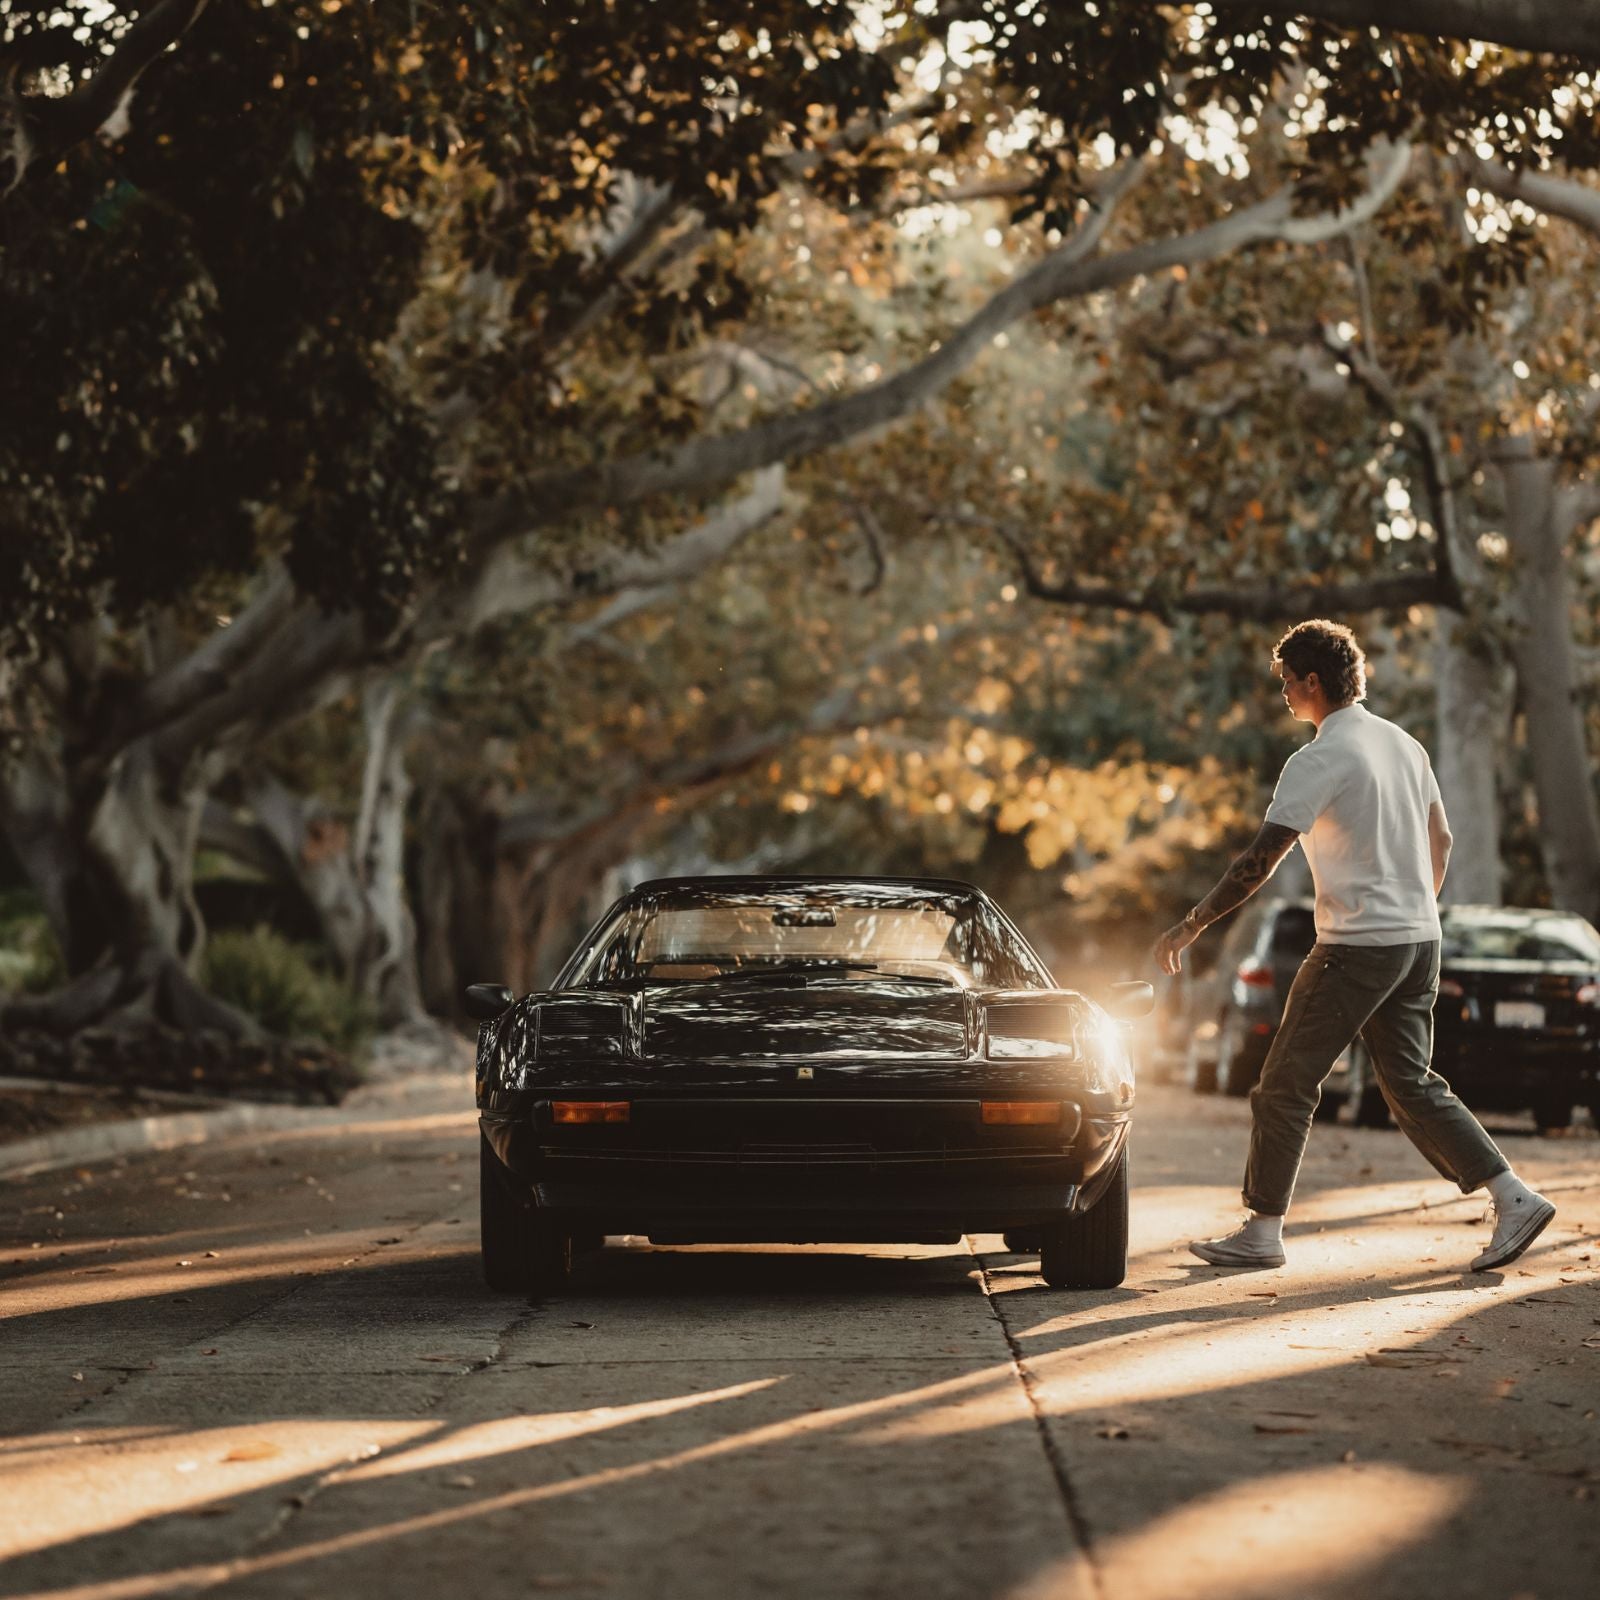
If you know how to use an ND filter and the benefits of using one, you can shoot high-quality videos with your iPhone that are on par with those taken with a DSLR.
I think you'll be able to take your videos to the next level, so please watch until the end.
1. What is an ND filter?
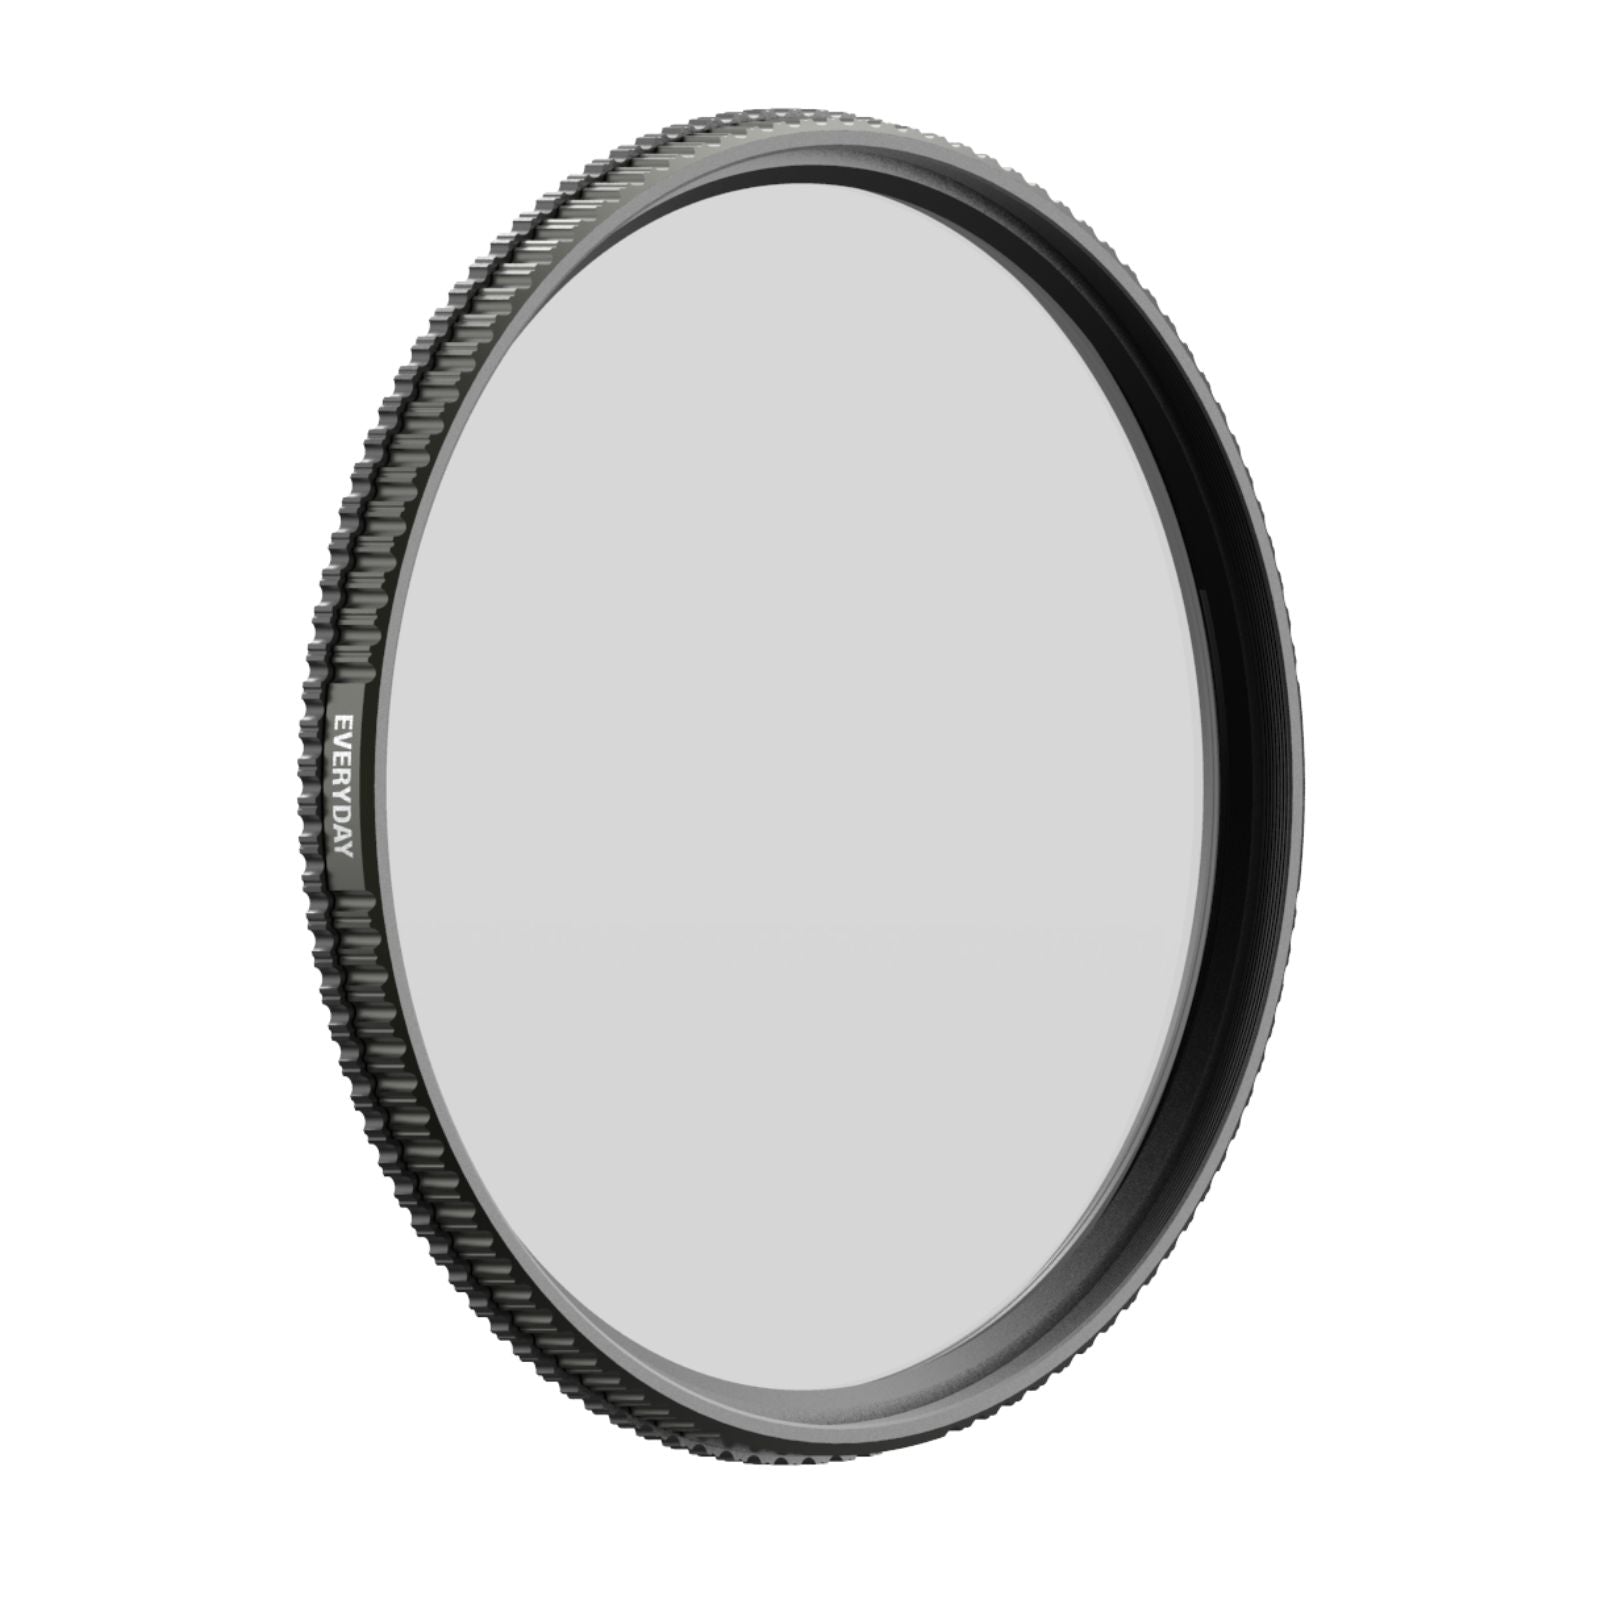
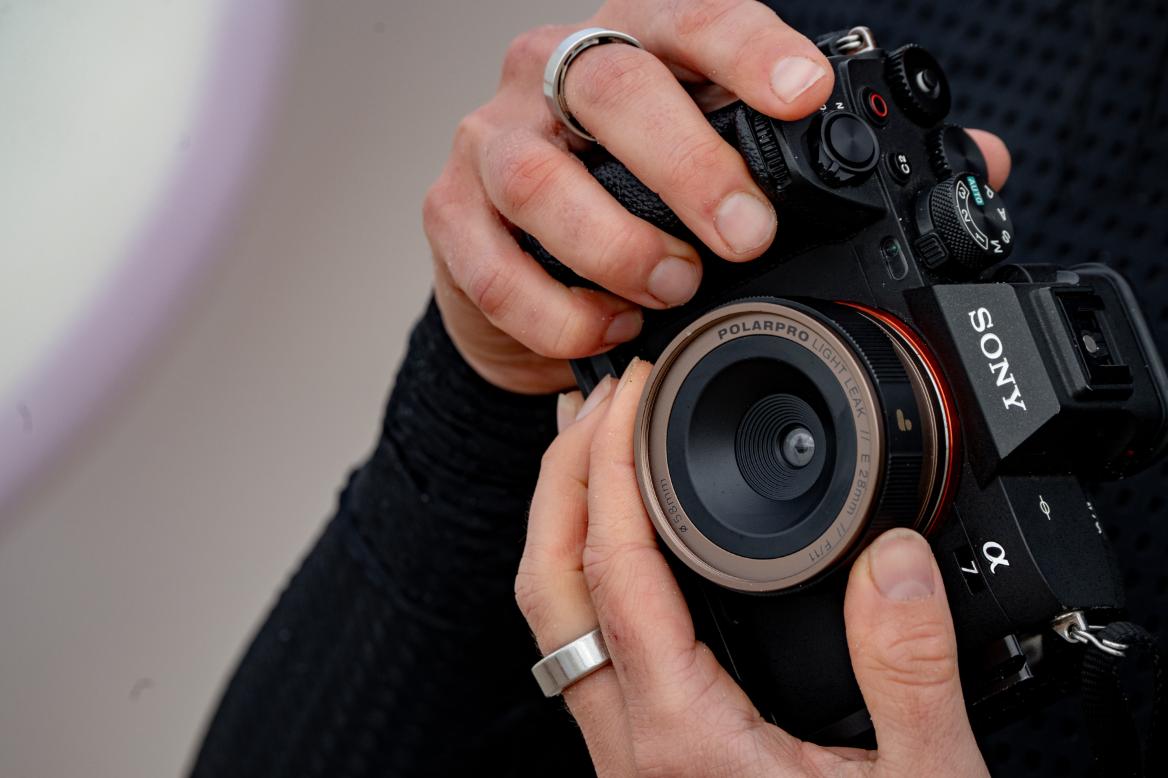
An ND filter is a device that acts like sunglasses and reduces the amount of light that enters the camera lens.
They are numbered ND4 and ND8, and these numbers indicate the amount of light that is taken in.
Compared to no ND filter, ND4 lets in 1/4 the amount of light, and ND8 lets in 1/8 the amount of light.
The higher the number, the better the light blocking effect.
If you ask, "Can I just attach an ND filter and shoot good-looking videos?" the answer is no.
First, you need to understand how to use and why ND filters are necessary.
To do this, you need to keep in mind the basic knowledge of video shooting that we will explain below.
2. Basic knowledge of video shooting that you can't talk about without knowing this
The most basic thing you need to know when shooting video is the relationship between "frame rate" and "shutter speed."
Before shooting, start by setting the camera's frame rate and shutter speed.
3. Set the frame rate (fps)
■ Guidelines for using different frame rates
・24fps
It's used in the movie.
When you want to create a cinematic and stylish look.
・30fps
It has been featured on television and YouTube.
The number of frames required to produce a natural result close to human vision.
・60fps
It is used for shooting fast-moving sports and games.
This is also useful if you want to edit it in slow motion later.
■What is frame rate?
A common example is that "videos are a series of still images, like flip books."
Frame rate is the number of frames (still images) that fit into a video per second.
In other words, the more frames there are in a video, the smoother the video will be.
Most of the footage we see on a daily basis, such as on television, is shot at 30fps.
You might think that a higher frame rate means smoother and better footage, but since movies are shot at 24fps, if you want to capture a unique cinematic atmosphere, we recommend setting the frame rate to 24fps.
4. Set your shutter speed to twice your frame rate
Another factor that determines the smoothness of an image is image retention.
By setting the shutter speed to twice the frame rate, you can create a natural blur (afterimage) of the subject's movement .
It seems like it would be better if there was no blur in the subject's movement, but footage that is completely blur-free would actually look unnatural.
■Examples of appropriate frame rate and shutter speed values
| Frame rate | Shutter speed |
| 24fps | 1/48 sec (or 1/50 sec) |
| 30fps | 1/60 second |
| 60fps | 1/120 second |
5. Why you need an ND filter for video shooting
Setting the shutter speed to twice the frame rate creates another problem: overexposed footage with blown-out highlights.
This is common in brightly lit shooting environments, such as outdoors during the day.
▼24fps × 1/48 sec × No ND filter
The ISO is fixed at near the lowest sensitivity, but the image is so overexposed that it's hard to tell what's in the picture.
Now, let's ignore the rule of "setting the shutter speed twice the frame rate" and try a faster shutter speed. What happens?
▼24fps × 1/8333 sec × No ND filter
By increasing the shutter speed, the blown-out highlights are eliminated, and at first glance this may seem fine, but if you look closely, you'll see that there is no afterimage in the image, and the water splashes just pop out, which is unnatural.
By ignoring the rule of "setting the shutter speed twice the frame rate," the subject's afterimage disappeared, resulting in an unnatural image with no blur at all.
To prevent this from happening, an ND filter is needed.
I adjusted the shutter speed and frame rate to the appropriate values and attached an ND8 filter.
▼24fps × 1/48 sec × ND8 filter
With this, the whiteout was still noticeable, so I attached a darker ND64 filter and tried again.
▼24fps × 1/48 sec × ND64 filter
I think the elimination of blown-out highlights and the moderate afterimage effect have resulted in natural-looking images.
In order to shoot at the appropriate shutter speed and frame rate, an ND filter is used to achieve the correct exposure. This is how ND filters are used in video shooting.
6. How to set frame rate and shutter speed on iPhone camera
With the standard iPhone camera, you can set the frame rate but not the shutter speed.
Therefore, you can set just the frame rate, attach an ND filter, and adjust the ND density while visually checking the afterimage effect. However, this is quite difficult, so we recommend simply installing and using an app that allows you to make detailed camera settings.
■ Recommended apps
One app that is particularly recommended for taking videos is Blackmagic Camera , a free camera app for iPhone provided by Blackmagic Design .
Other well-known apps include " FiLMiC Pro " and " Pro Camera by Moment ." These are paid apps, but they allow you to adjust various camera settings in addition to frame rate and shutter speed.
7. Summary
① Set the frame rate using a camera app such as "Blackmagic Camera", "FiLMiC Pro", or "Pro Camera by Moment". (24fps is recommended for cinematic footage.)
② Set the shutter speed to twice the frame rate
---If it's daytime, also set the following---
③ Fix the ISO at near the lowest sensitivity.
④ In this state, adjust the variable ND to set the exposure to your liking.
Rather than using an ND filter without understanding why, using it after understanding its purpose will significantly improve the quality of your video.
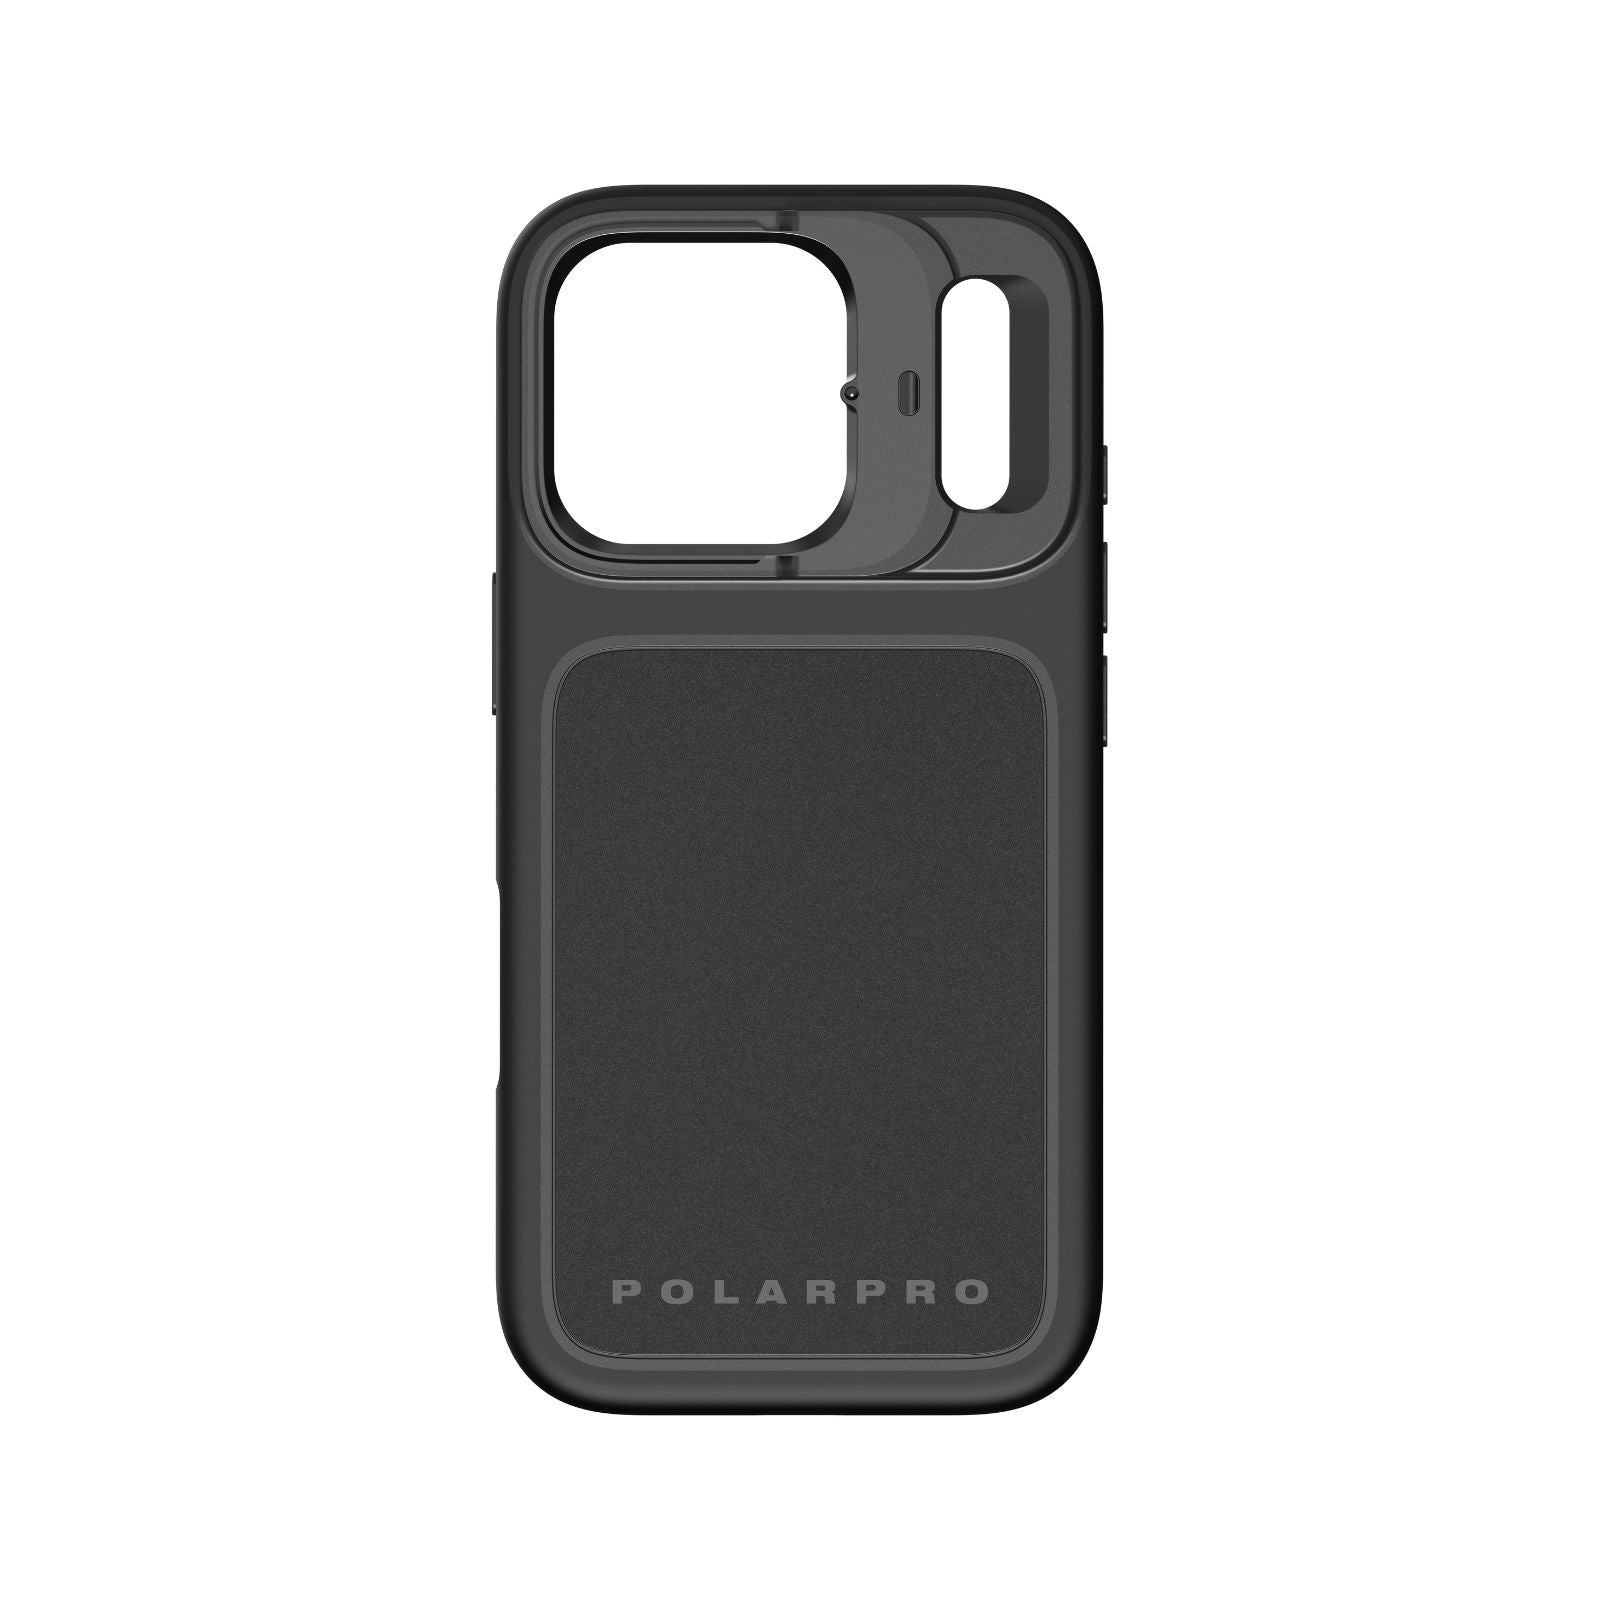
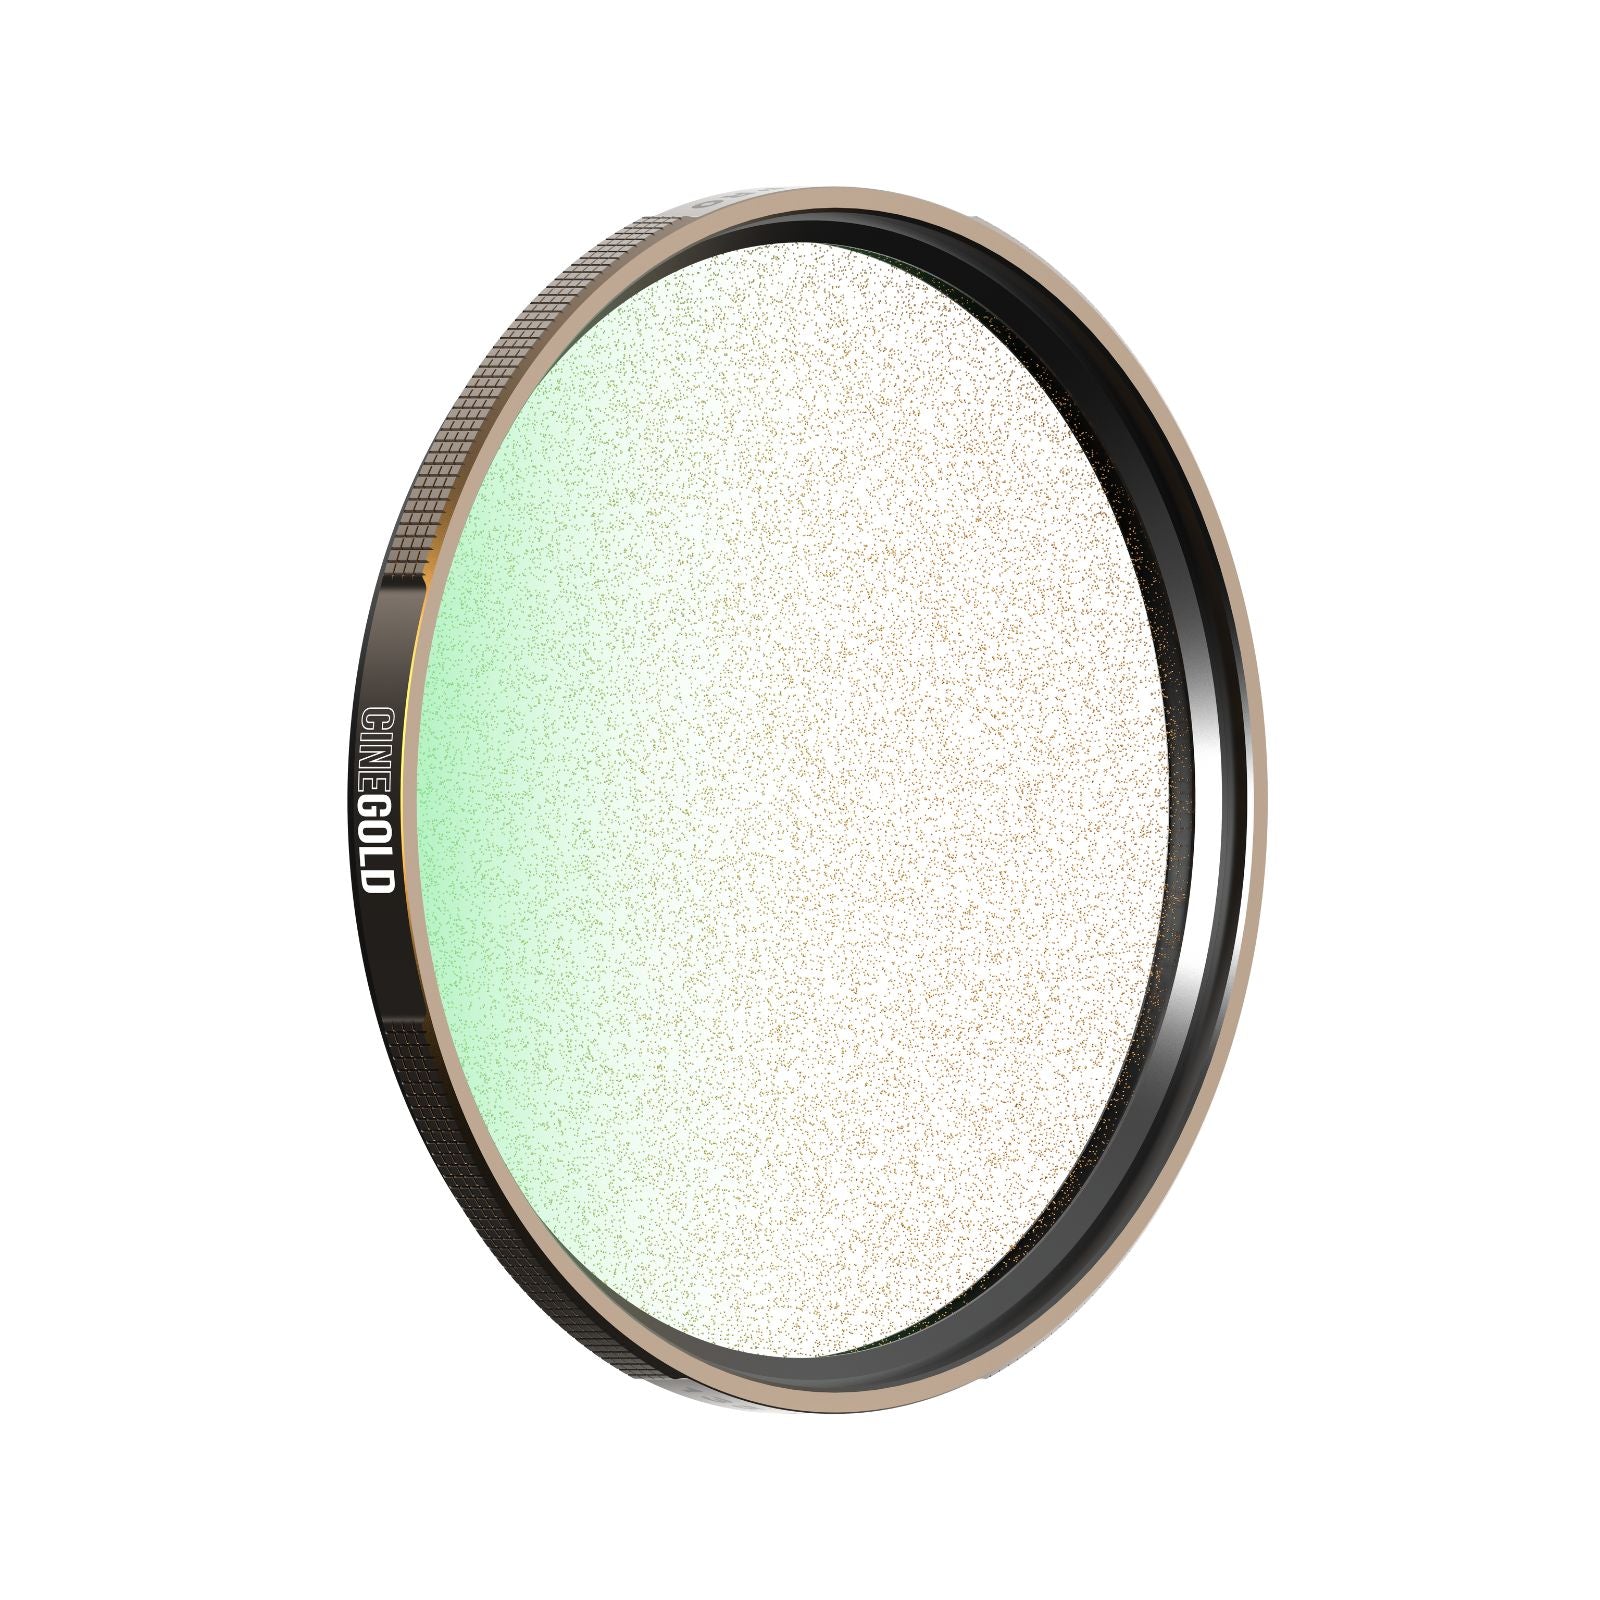
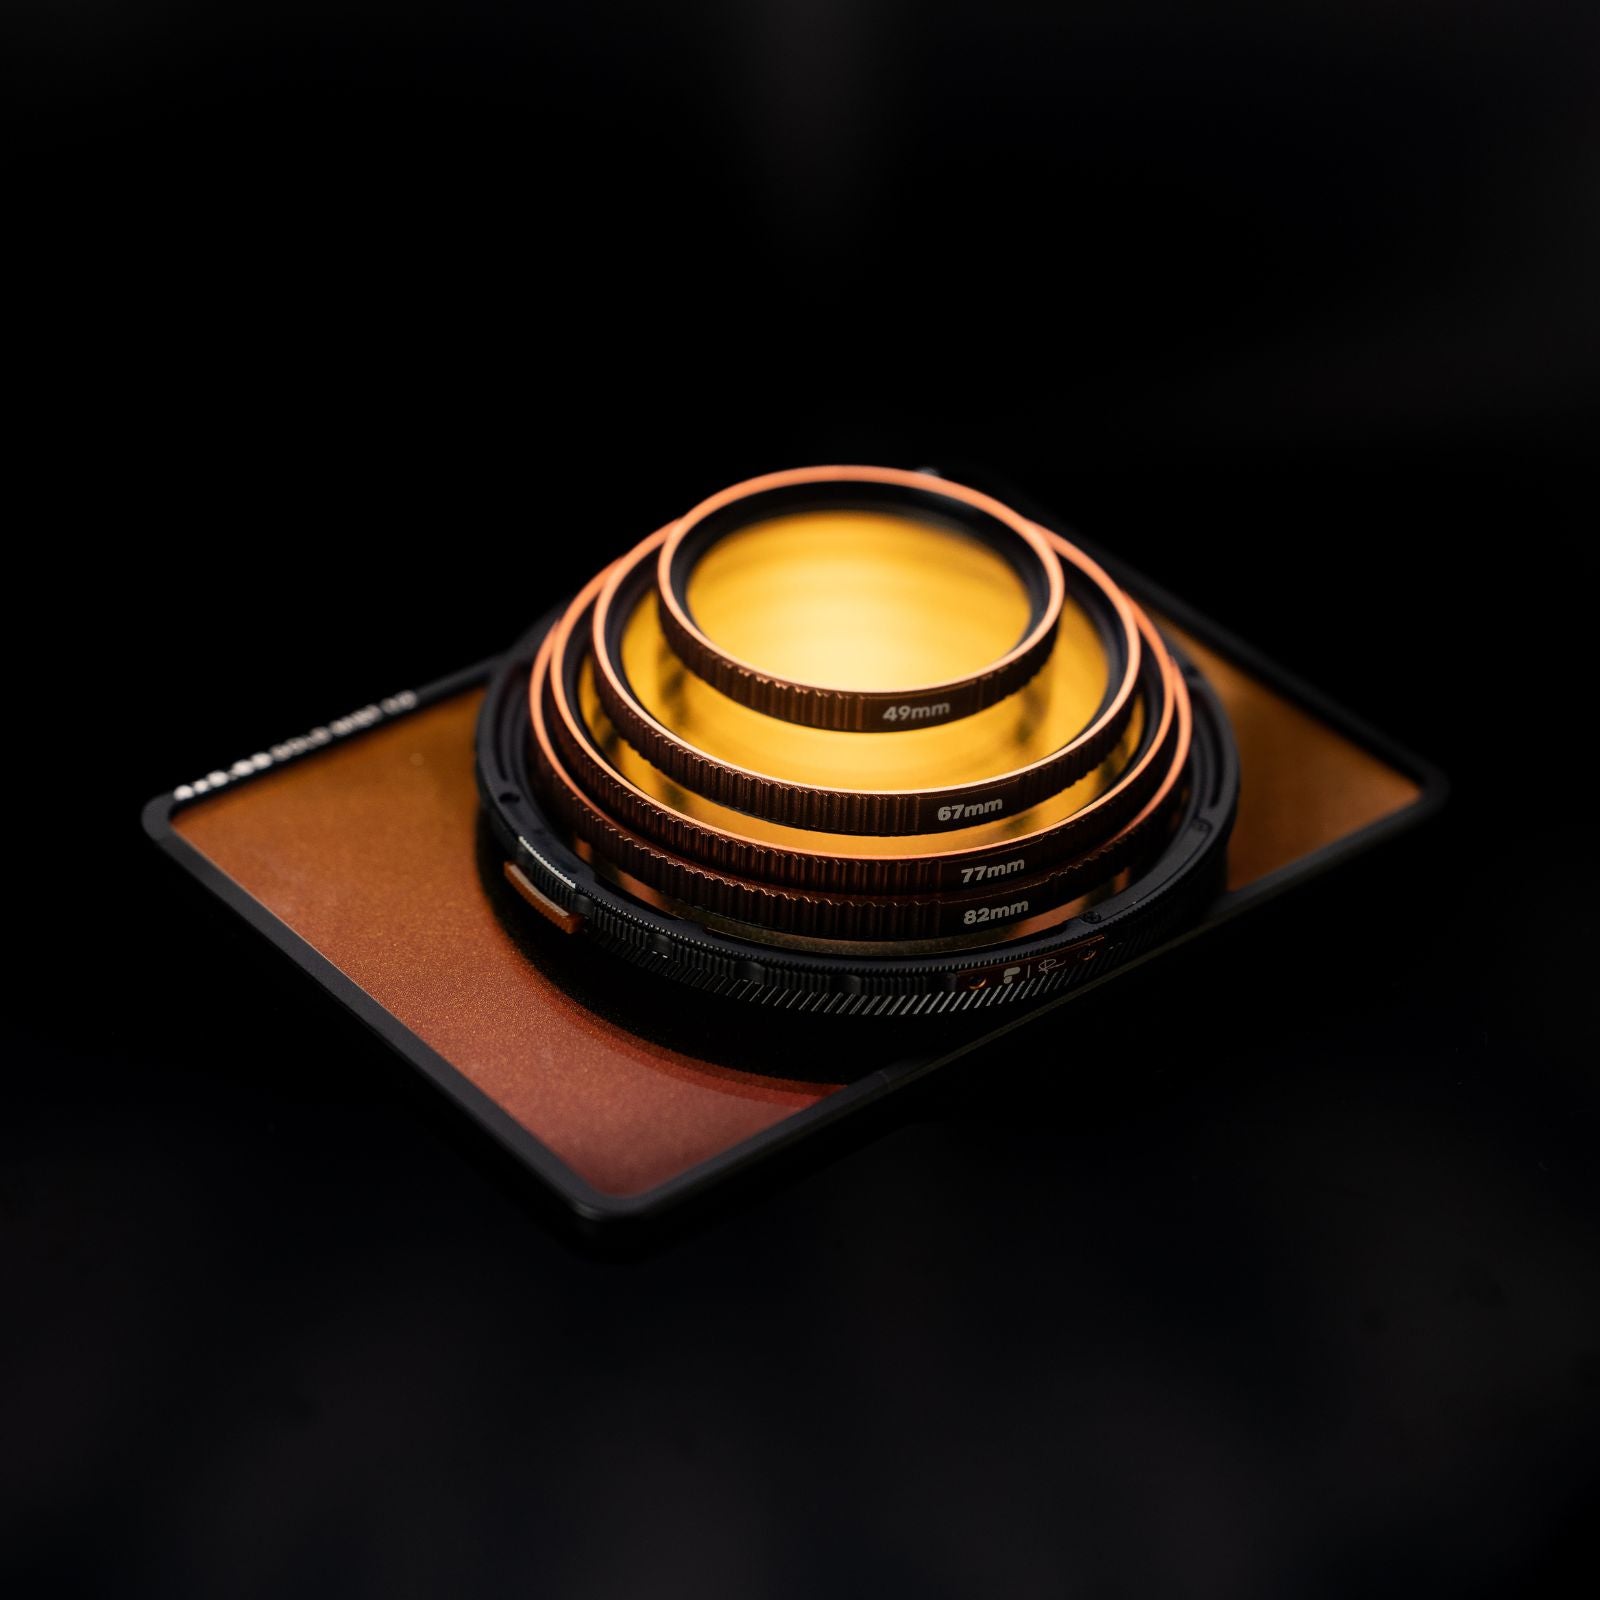
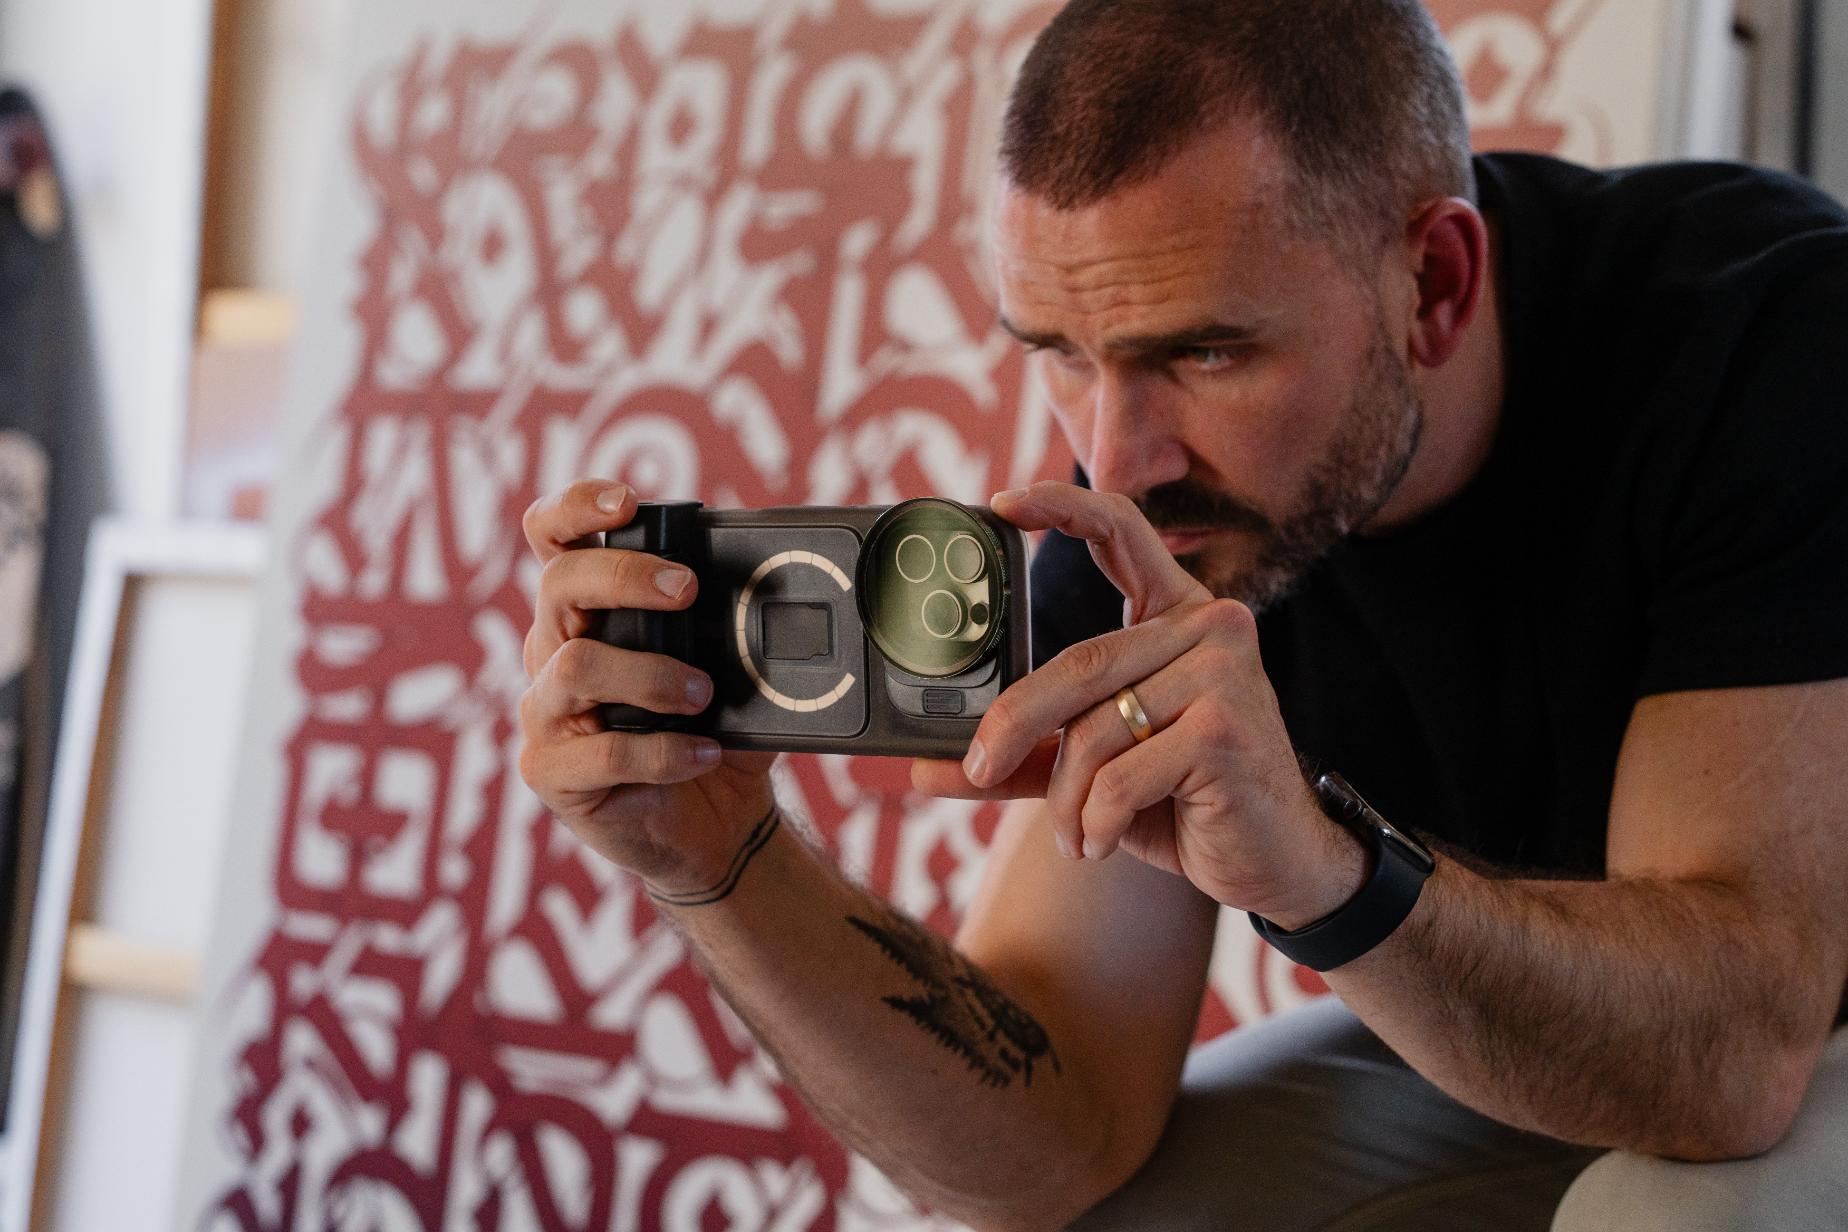
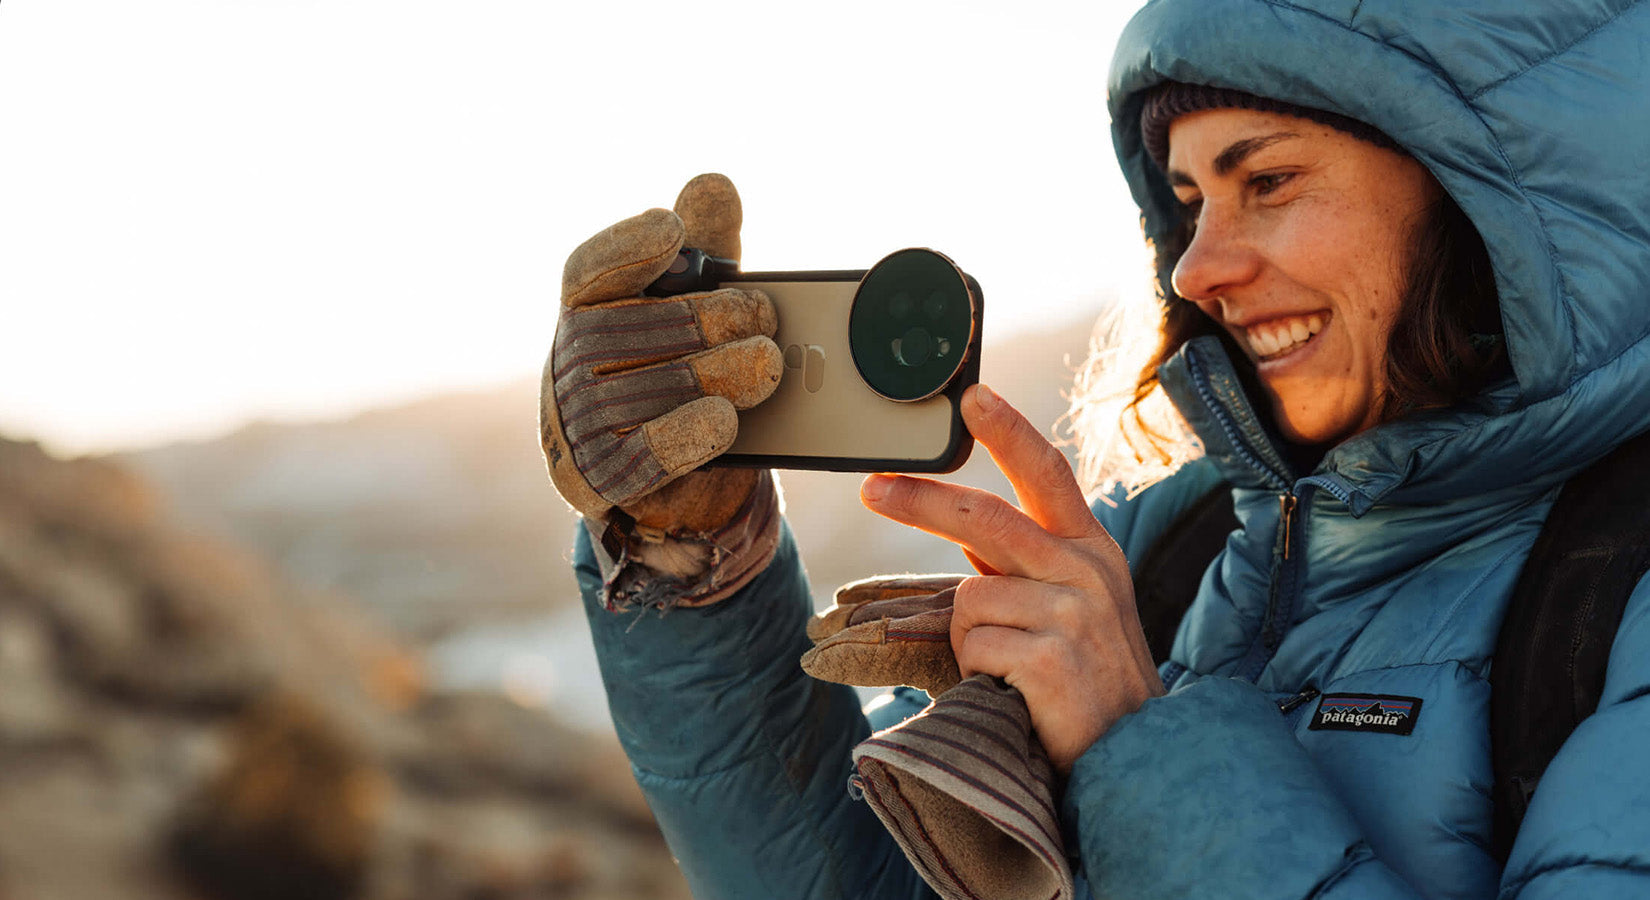
We offer a photography kit called the "PolarPro LiteChaser Pro Series" that allows you to attach an ND filter to your iPhone.
The combination of a high-quality dedicated case and dedicated filter makes this product ideal for mobile content creation.
In addition to ND filters, you can also use a variety of other filters and dedicated grips with tripod holes, so if you're interested, be sure to check it out.
■PolarPro LiteChaser Pro for iPhone 17 Pro / Pro Max
⇒Product introduction page is here
■PolarPro LiteChaser Pro for iPhone 16 Pro / Pro Max
⇒Product introduction page is here
■PolarPro LiteChaser Pro for iPhone 15 Pro / Pro Max
⇒Product introduction page is here
■PolarPro LiteChaser Pro for iPhone 14 Pro / Pro Max
⇒Product introduction page is here
■PolarPro LiteChaser Pro for iPhone 13 Pro / Pro Max
⇒Product introduction page is here
■PolarPro LiteChaser Pro for iPhone 12 Pro / Pro Max
⇒Product introduction page is here