Even if you buy a drone and start shooting, many people are probably worried that they won't be able to get the footage they want or the amazing footage they see on video sites.
Here are some photography tips that may help elevate your footage.
Tips for taking your drone footage to the next level - Vol.1
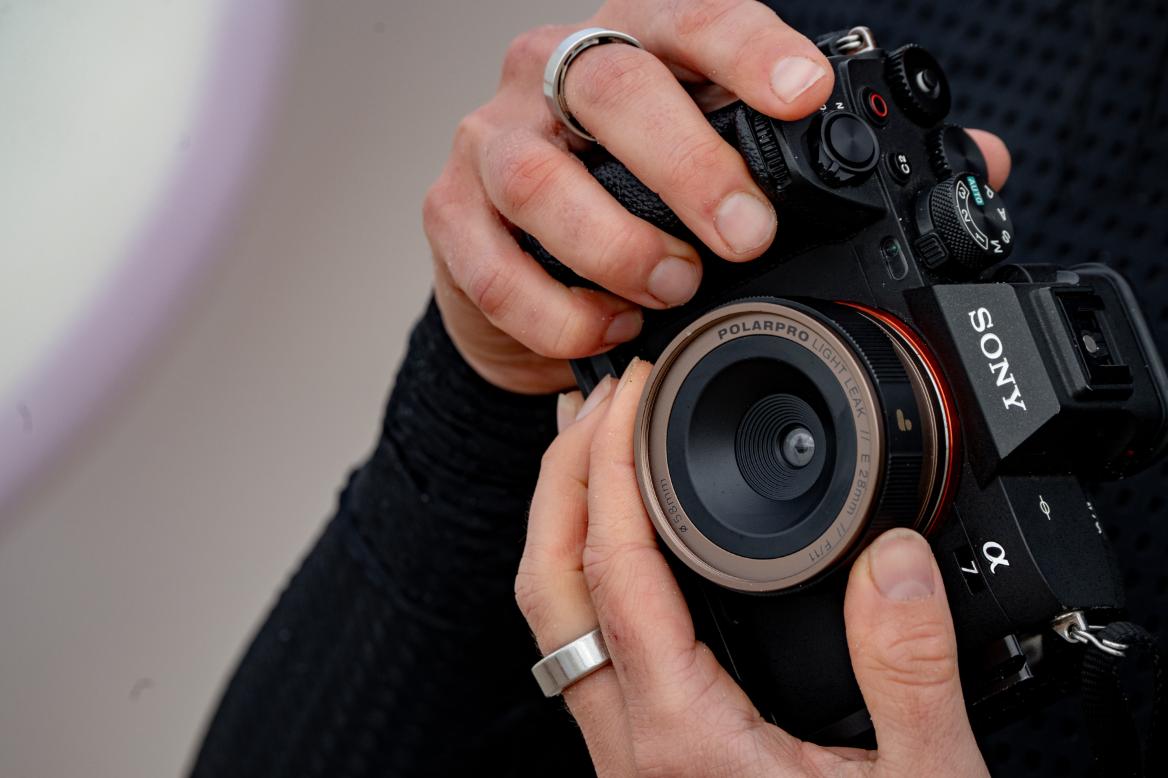
○ Adjusting gimbal settings
Many drones allow you to make detailed settings for gimbal control using an app.
The default settings may make the gimbal tilt movement quite sensitive, which may not be the optimal setting for shooting.
By reviewing the gimbal's movement speed and smoothness settings, you may be able to capture smoother footage without any stuttering.
Understanding exposure settings
Exposure is an important factor in photography.
Exposure refers to the amount of light taken in when taking a photo, and you can control this exposure by adjusting the aperture, shutter speed, and ISO.
By setting this correctly, you can avoid overexposure (bloated highlights) and underexposure (crushed shadows) and take photos with the correct exposure.
■Aperture
This refers to the size of the opening that lets light into the lens, and is also expressed as an "F-number," such as f/2.8 to f/22.
The smaller the F-number, the more light can be captured, but the narrower the range of focus (depth of field).
By taking advantage of this characteristic, you can take images with a blurred background and a three-dimensional feel.
Conversely, the larger the F-number, the less light is taken in, but the wider the range of focus.
It's the same principle as when humans squint their eyes to see something far away.
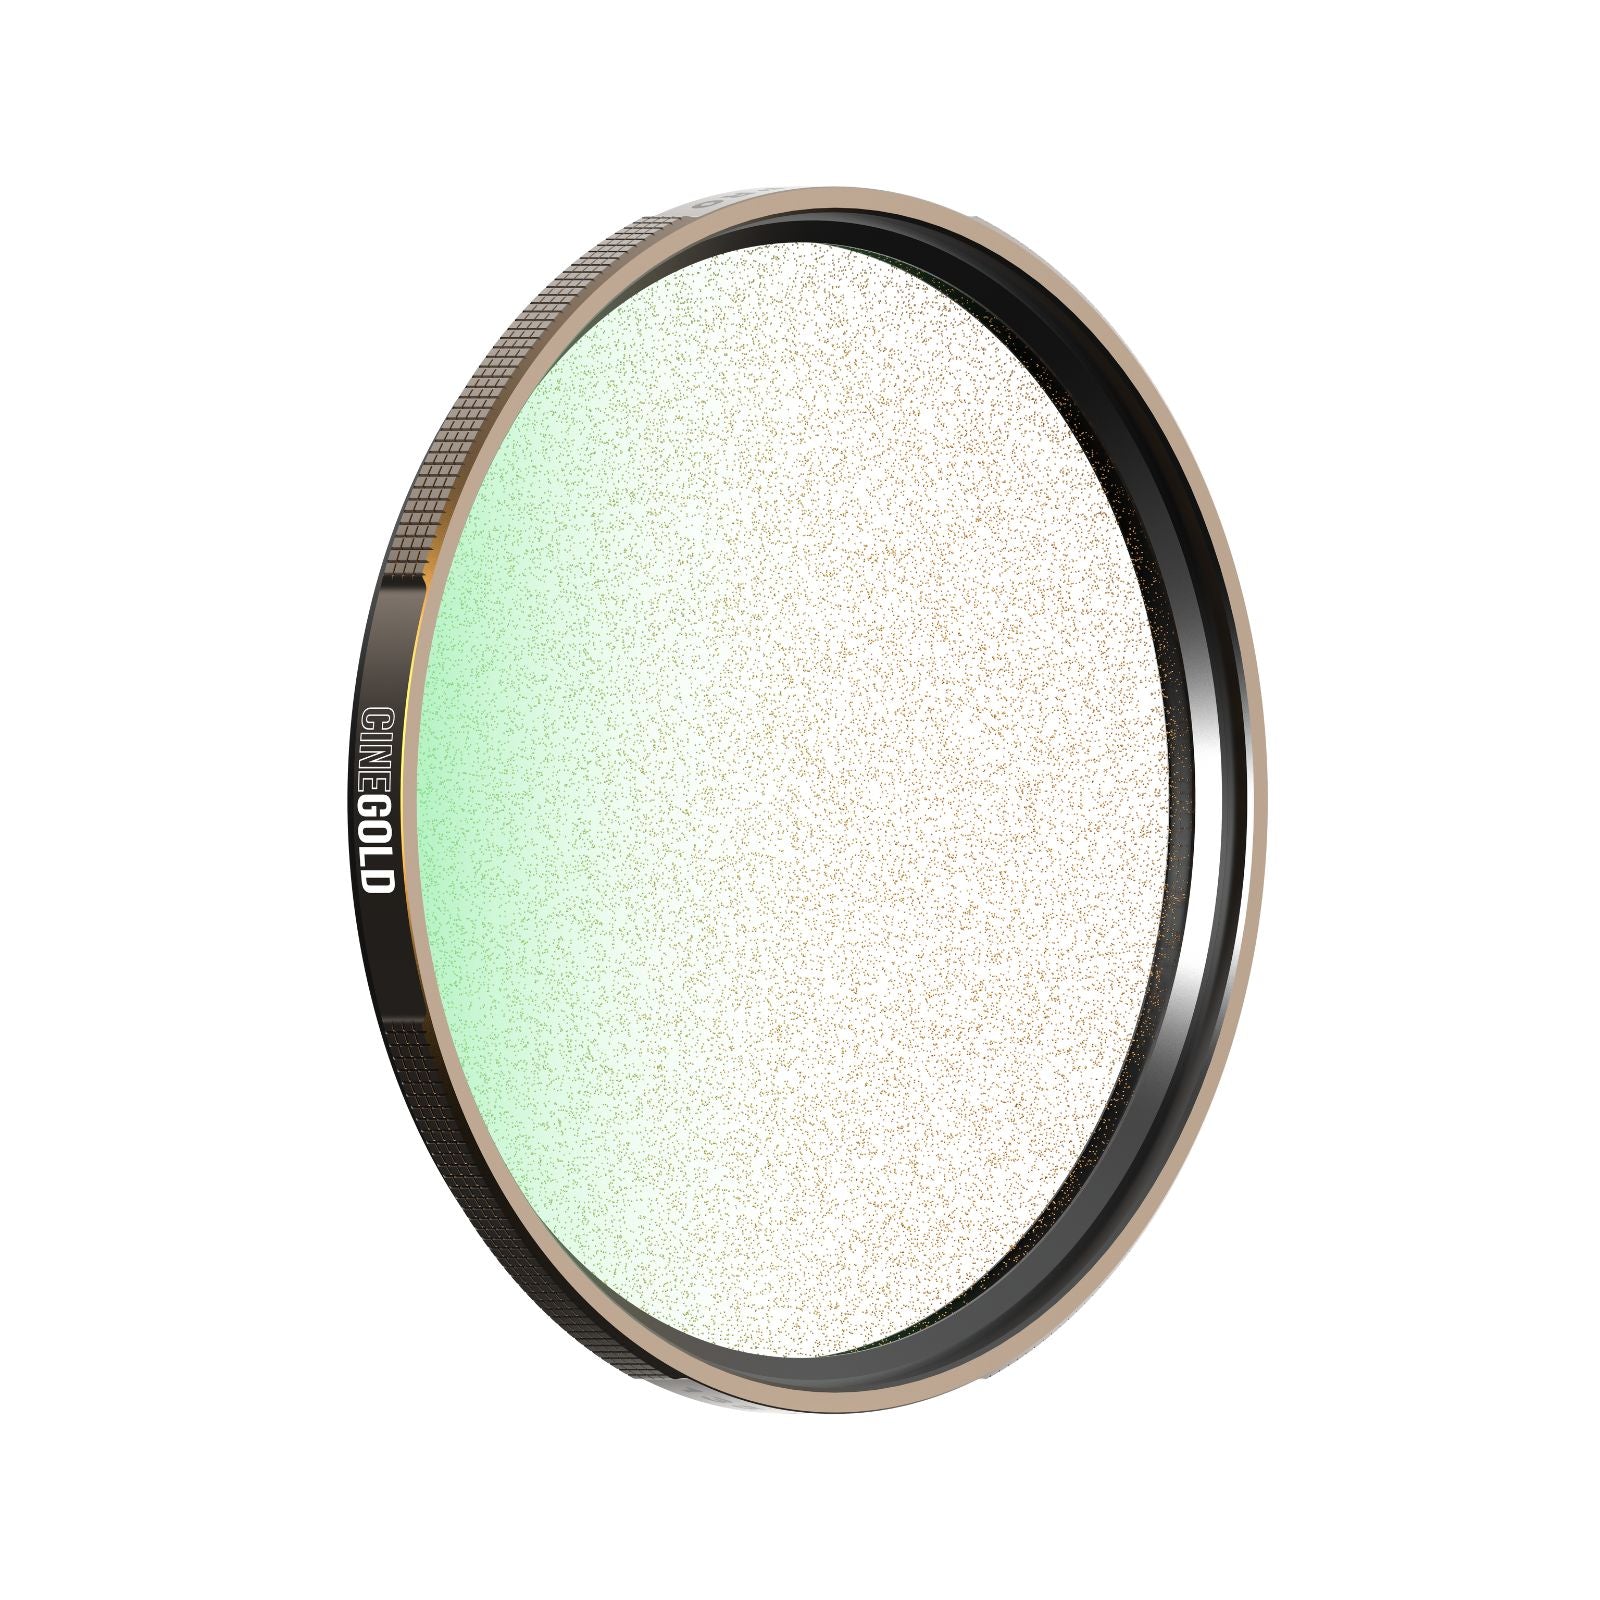
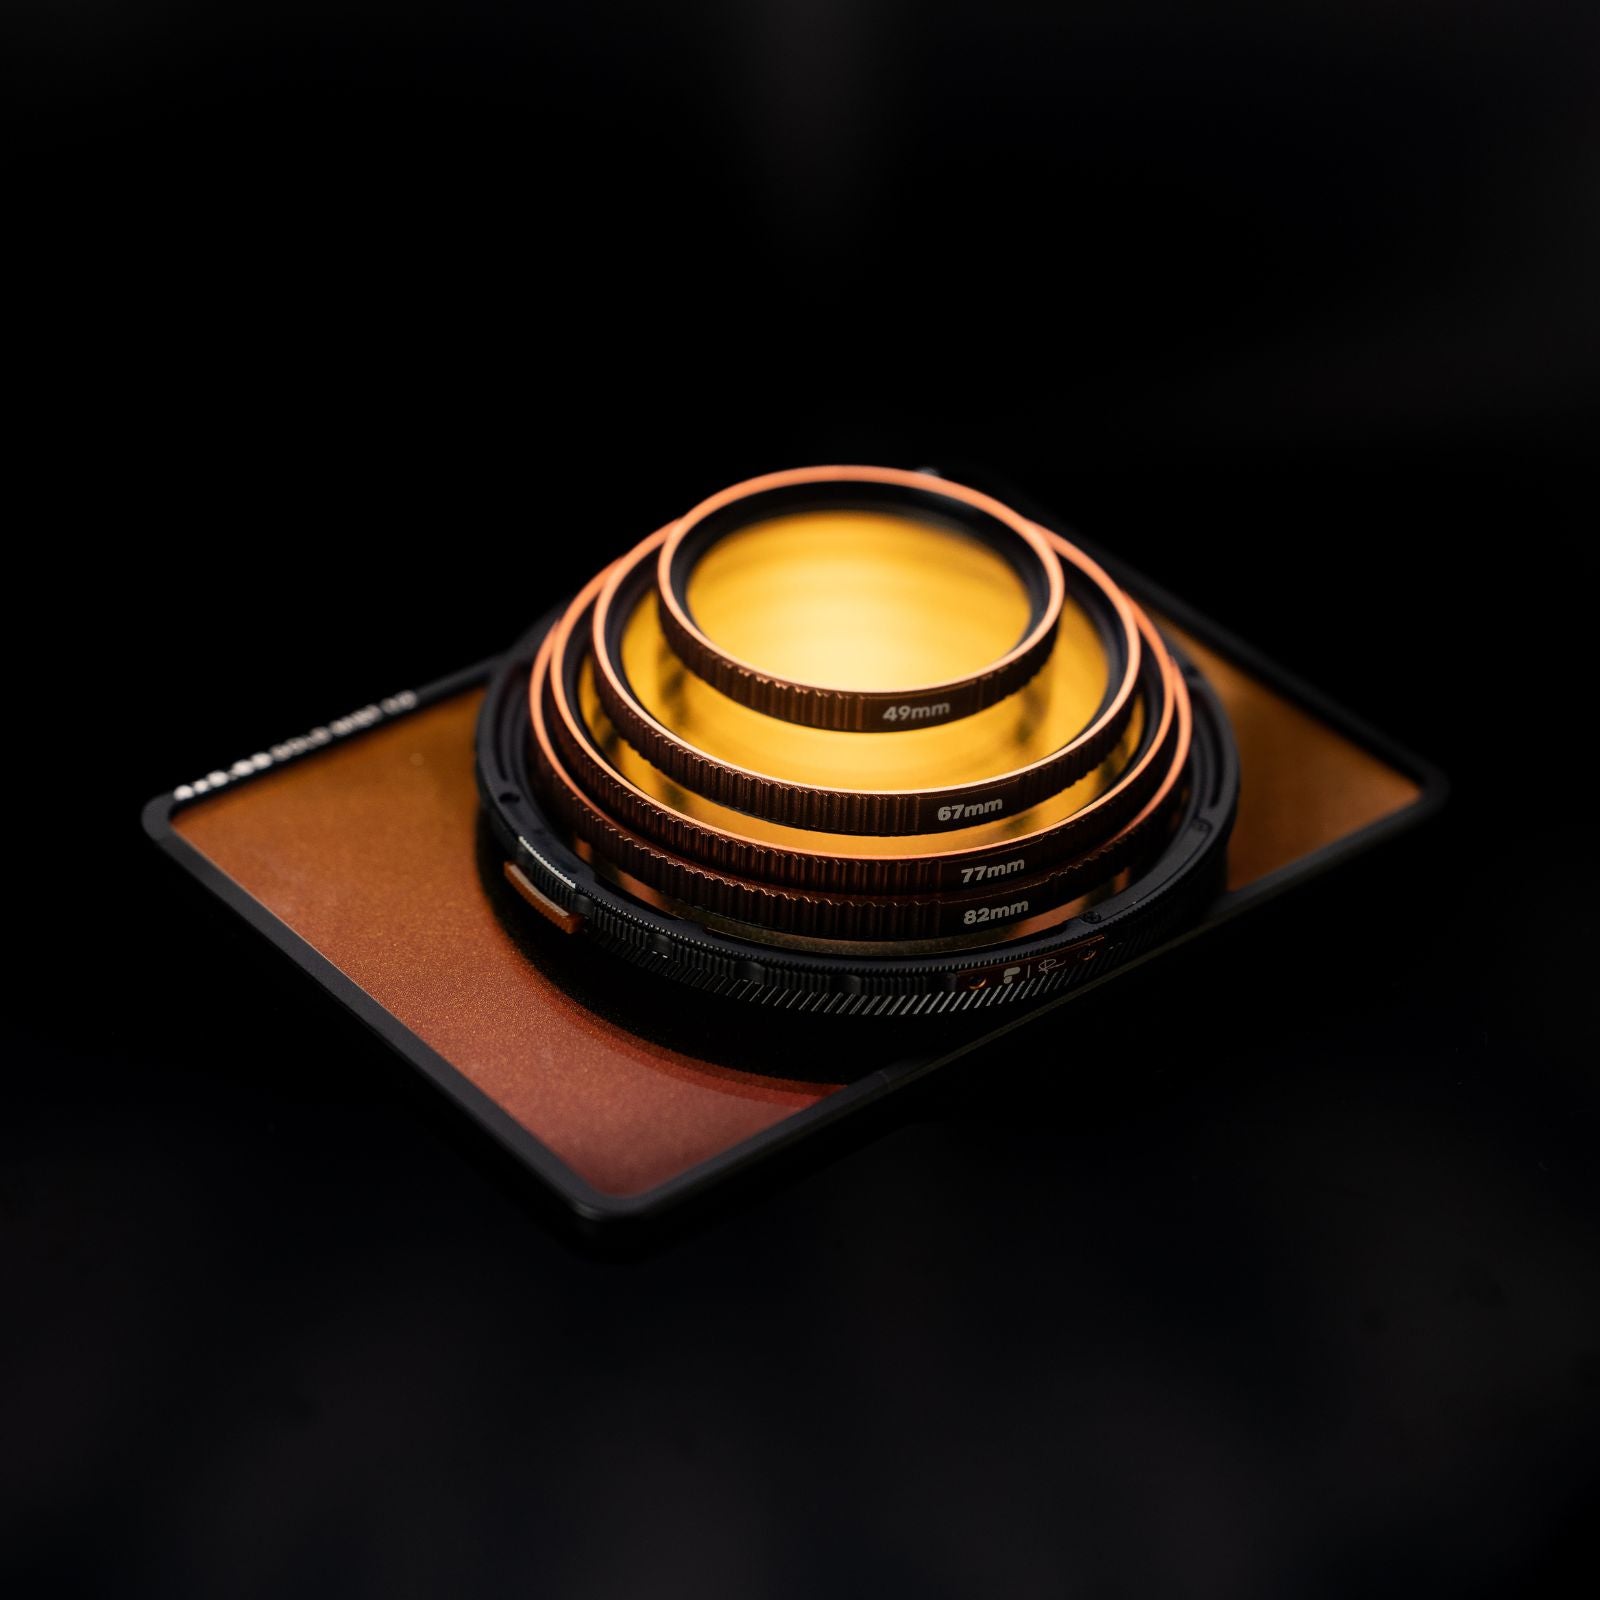
ND filters are used when you want to shoot in bright daylight conditions while maintaining a shallow depth of field.
■Shutter speed
This refers to the time it takes to capture light and is expressed as a number such as 1/8000 seconds, 1/80 seconds, or 8 seconds.
The smaller the number, the faster the shutter speed will be set, allowing you to capture moving subjects without blur, but the image will be darker because the time available to capture light will be shorter.
Conversely, the larger the number, the slower the shutter speed will be, allowing more time for light to be captured, resulting in a brighter image, but increasing the likelihood of blurring.
■ISO
It indicates the camera's sensitivity to light.
The smaller the number, the less sensitive it is to light, which helps prevent overexposure when shooting in bright environments.
Conversely, the higher the number, the greater the sensitivity to light, allowing more light to be captured when shooting at night or in dark places, but there is a greater chance of noise being introduced into the image.
Generally, the recommended upper limit for ISO is around 1600, and anything above that is more likely to result in noise.
By understanding and combining these three settings, you can broaden the scope of your photography, allowing you to take photos with the correct exposure or deliberately take original photos with an exposure that is not correct.
Understanding frame rates
Frame rate refers to the number of frames processed per second in a video, and is expressed as a number in fps (= frames per second), such as 30fps or 60fps.
The higher the number, the more frames there are per second, resulting in a smoother image.
Generally, 24fps is the standard for movies and other video content.
○Relationship between shutter speed and frame rate
When shooting video, the shutter speed is basically determined by the frame rate, and a shutter speed that is twice the frame rate is generally considered to be the most natural-looking setting.
1/50 (nearest 1/48) for 24fps
1/60 for 30fps
Something like that.
In other words, as we discussed earlier about exposure settings, since the appropriate shutter speed is determined by the frame rate, it is not possible to adjust the brightness with the shutter speed when shooting video, so an ND filter is used to adjust the amount of light.
Because the exposure settings and frame rate interact in this way, choosing the appropriate settings depending on the shooting environment is one tip for capturing cinematic footage and capturing footage as intended.